
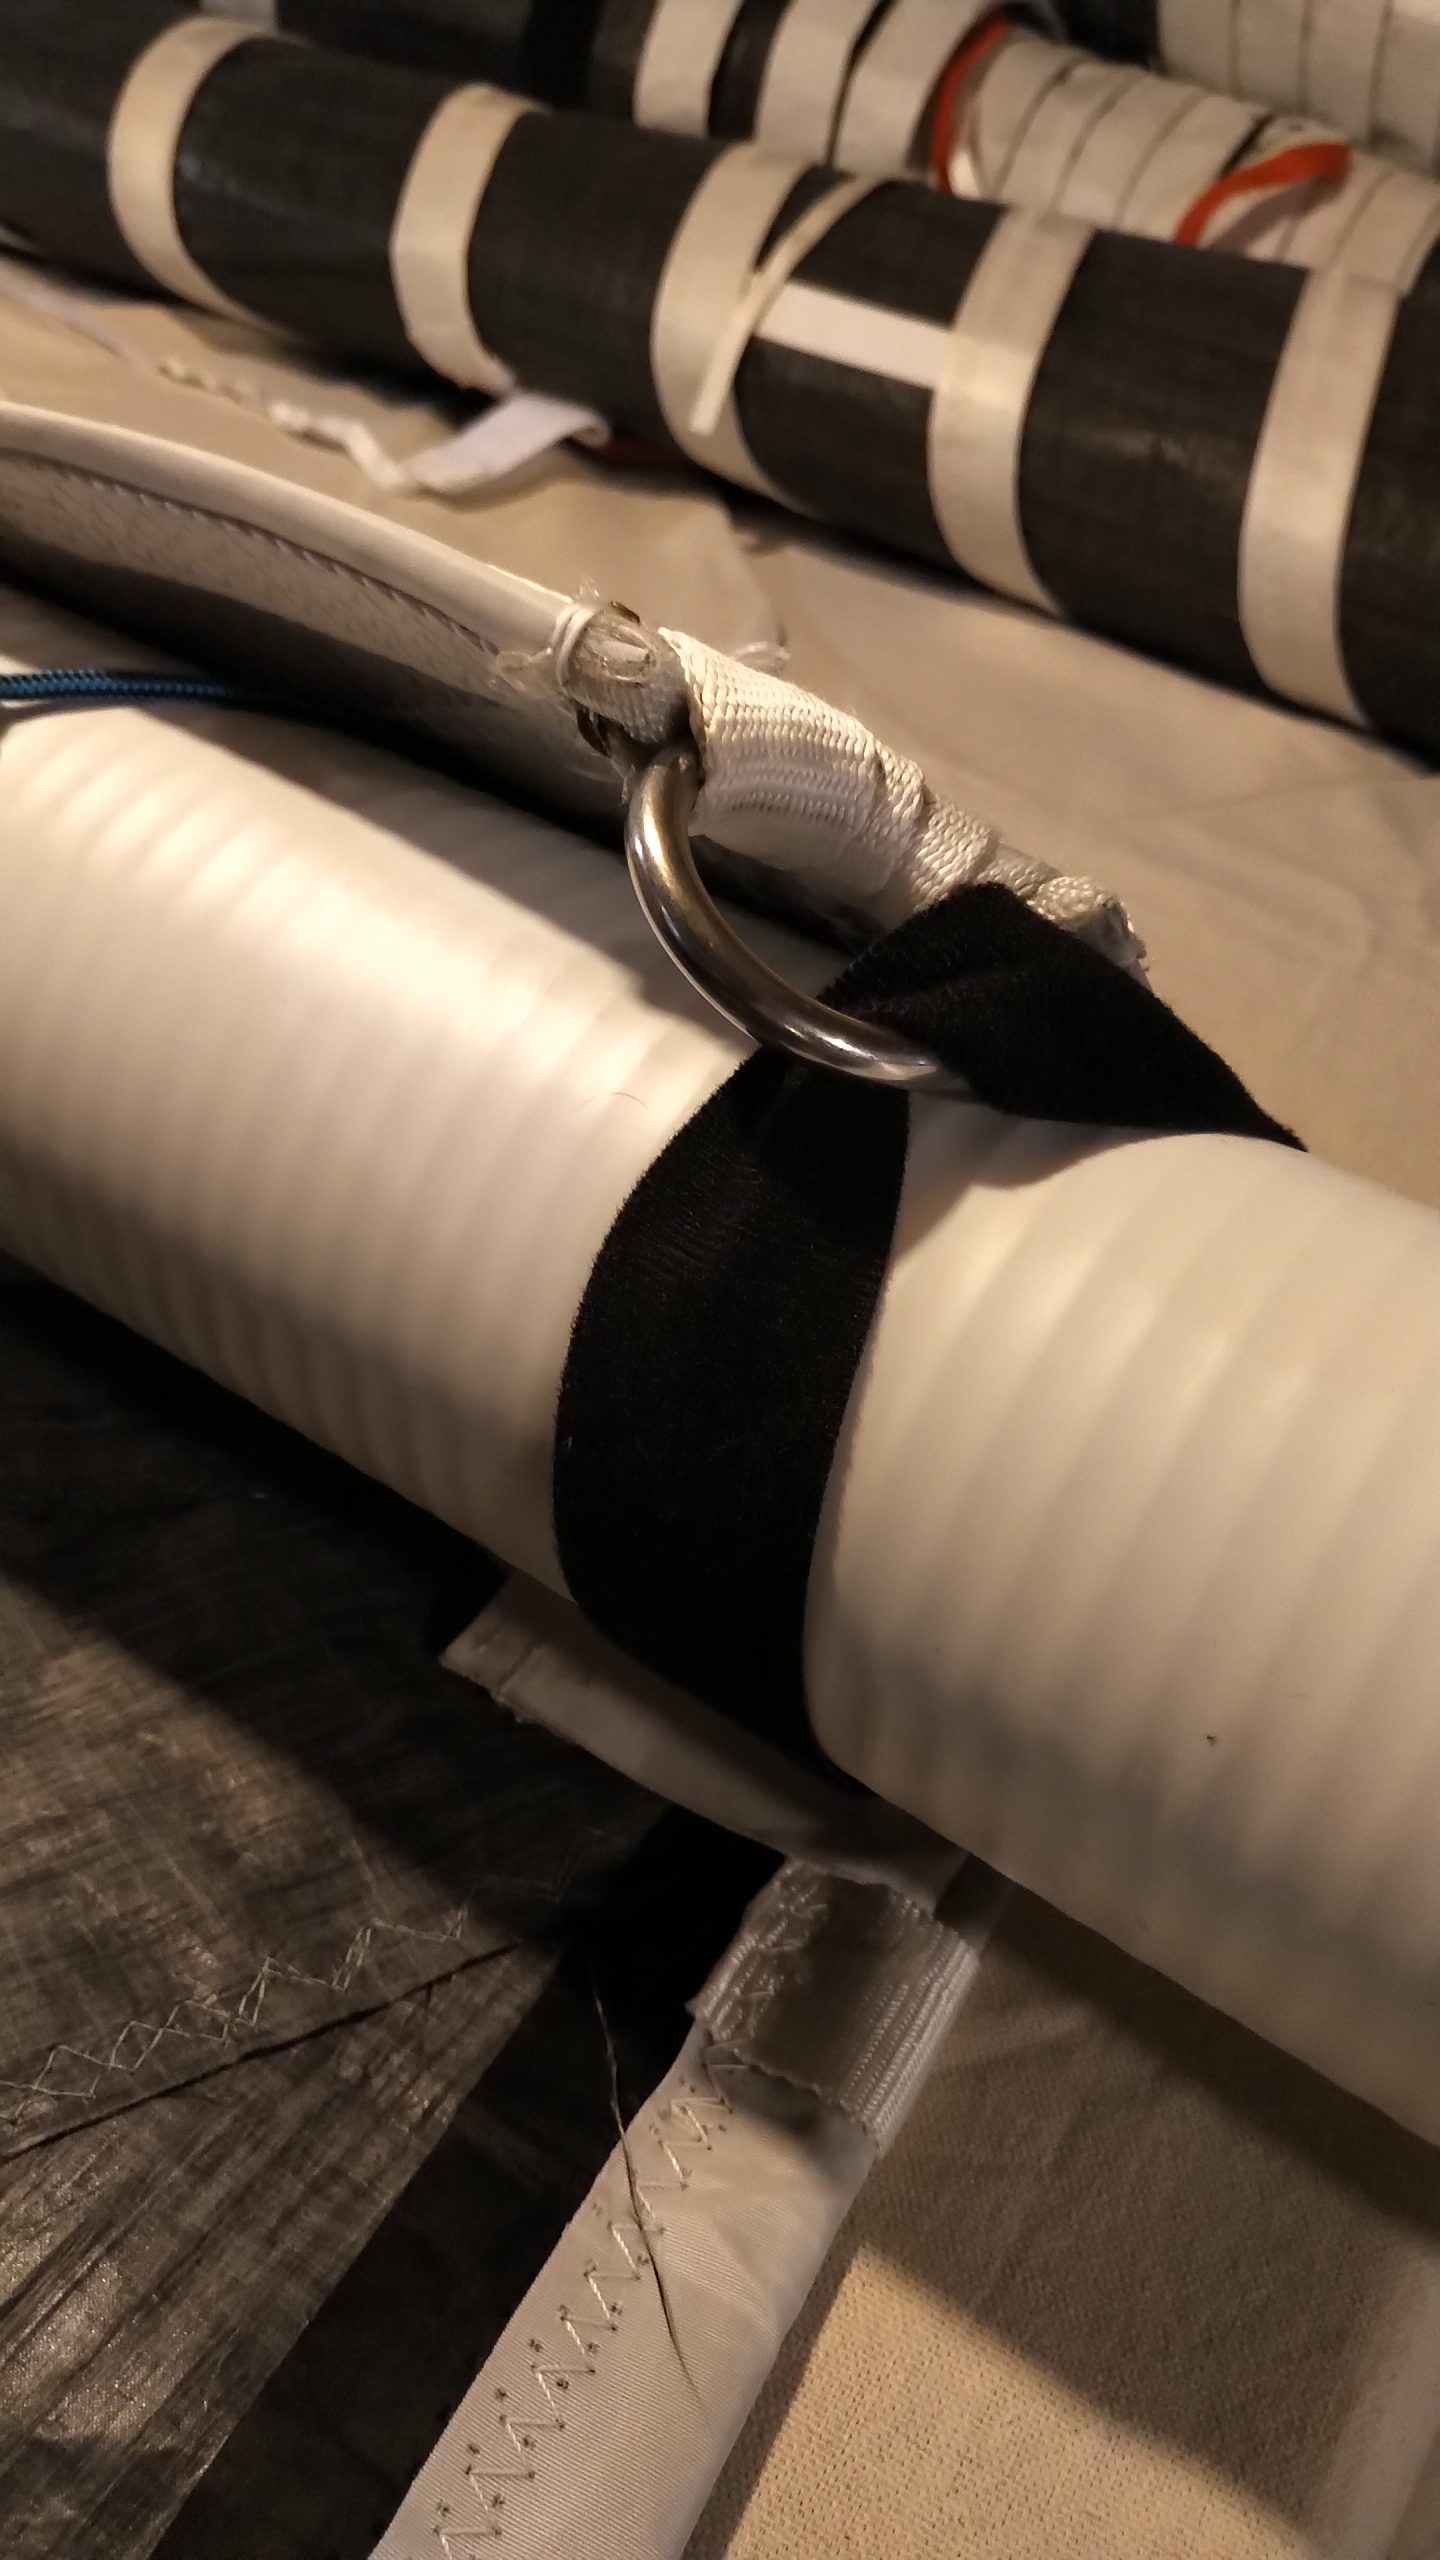
In the Pacific Northwest, we’re fortunate to not really have an offseason. While last month’s Round the County race is considered by many the last hurrah of the racing year, the Snowbird series started in November and the well-attended South Sound Series starts this coming weekend with a race a month into February.
For One Life, though, it’s time for a haulout and some other projects on the boat. We’ll be back at it again in February, so it will be nice to sit back and focus on being warm and cheerful during the holidays and optimistic for the coming New Year.
A project I was not able to do last year because of a lack of space was made possible this year by a move to a new residence earlier this spring. I don’t really like leaving my race sails flaked, folded, and sitting in the forepeak. Combined with the fact they all needed to be dried out anyway, I was off to the local building supply store and Amazon for sewer pipe and velcro strapping.
Yup, sewer pipe.
The only way I know of to store sails in a compact fashion but without creases is to roll them. To assist in this, I went shopping for something to roll the sails around — sewer pipe.
My intention was to grab 6″ diameter sewer pipe, but it seems this is in pretty short supply. After visiting multiple building supply stores, I saw one 10′ length and it was almost $30. Given I needed 6 of them to handle my four sails, that was out.
I ended up using 4″ diameter groundwater drainage pipes instead. Similar theory as sewer pipe, but much less heavy. The benefit of these is they already have a female fitting built in to one end. No need to buy connectors or fiddle with pipe cement.
I’d already measured the foot of my sails, and knew 15′ of sewer pipe would be adequate. I measured my work area in the basement, and it was 15.5′ — so I was set to go.
The pipes were filthy, so I chose one of the 5-minute breaks in the rain we’ve had since Autumn started and washed them out in the yard. I grabbed the Sawz-all with a long metal-cutting blade (way easier to handle cutting plastic pipe than a blade with aggressive wood-cutting teeth) and my tape measure. I cut two of the 10′ lengths in half so I’d end up with four 15′-long pieces.
The first non-obvious tip I have is when you are about to combine the pieces together, line up the end of the male piece with where it would sit once all the way in the female connector. Mark that with a little line. Connect the two pieces and then stand the whole thing up on end with the short piece at the bottom to put it about eye height. Bang it on the ground a few times and you’ll see the weight of the longer piece will seat the pieces together all the way.
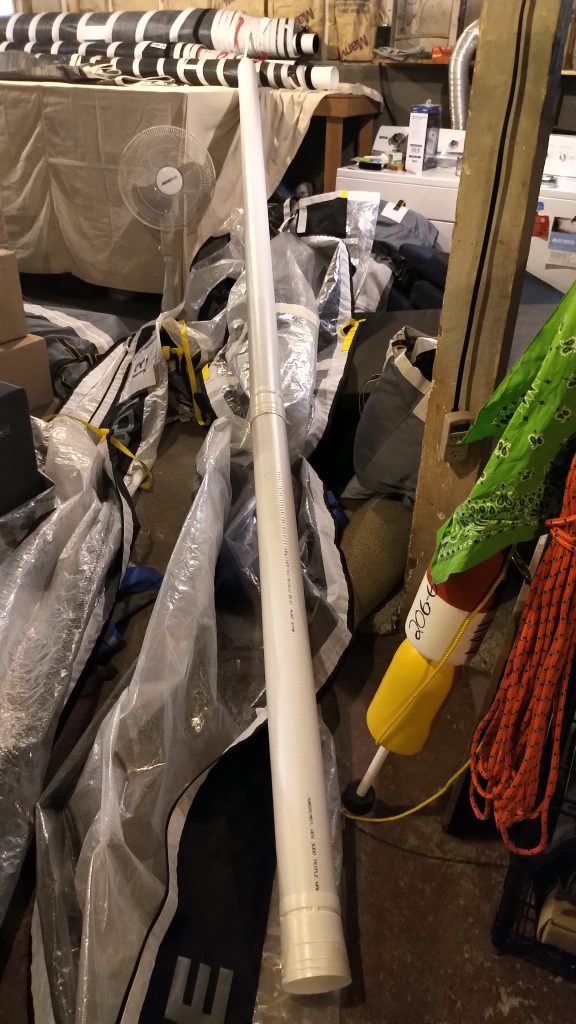
Once that was done, I moved them all inside to dry off.
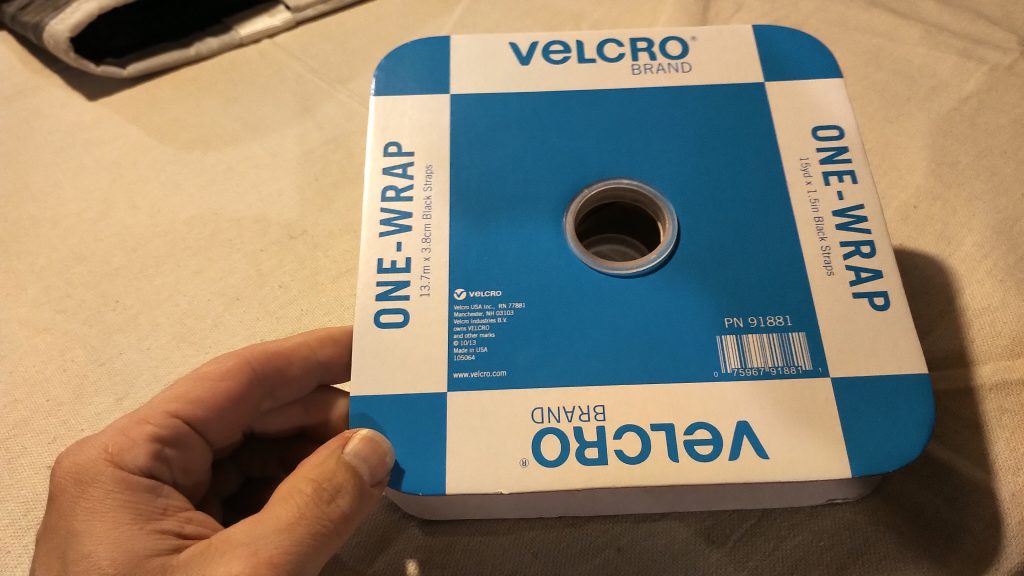
I bought 15 yards of 2-side Velcro strapping (not adhesive Velcro) off Amazon, though I expect your local sewing supply store would carry it. I didn’t have any luck finding it at the building supply stores except in 6′ lengths for twice what I bought 15 yards for off Amazon.
I cut the Velcro straps with scissors to a length adeqate to secure the tack and clew to the drainage pipe. I wasn’t afraid to be generous here as it made it much easier to wrangle and I had 15 yards of velcro to work with.
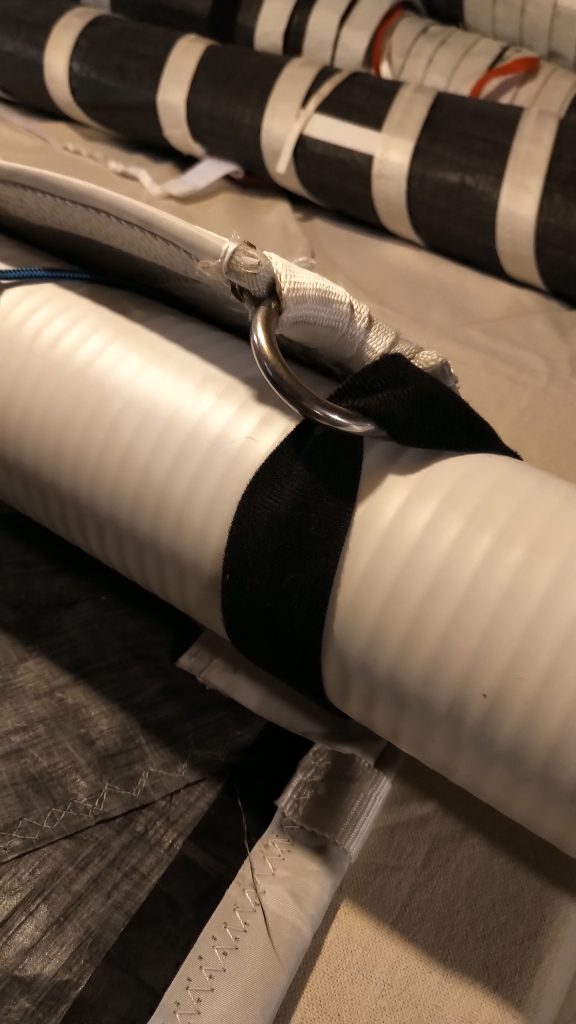
Strapped the clew to the drainage pipe with the Velcro.
From there, it was just a matter of rolling and rolling and rolling. There is some art to making sur ethere are no wrinkles or other issues, depending on how your sail is cut and/or how your sails are attached.
For instance, on my racing main I have large luff car sliders. It wouldn’t be good to store the sail with those pointy buggers poking into the sail fabric all winter, so I had to make sure the luff stayed pretty well lined up on that end of the drainage pipe. In contrast, my jibs all use bolt ropes instead of hanks — so I didn’t much care how those lined up since I’ll be flaking them anyway before taking them down to the boat next season.
My biggest challenge was getting the sails all dried out. I didn’t want to have any moisture rolled up in there, so the basement was even more of a yard sale (yard sail? lol) than normal. Eventually, I managed to get each of them dry before rolling them up.
(Speaking of which, if anyone has any good ideas how to dry out a furling code zero and get it rolled back up tightly without doing that on the boat, let me know.)
I rolled the sails myself since I couldn’t predict when each sail might be dry. I can readily see how it would be easier to have one or two helpers, especially for sails designed for heavier loads with stiff clew and tack stitching. If your sails are big enough so you need something appreciably longer than 15′ drainage pipe sections, I’d suggest you have help when rolling them up.
One good thing about the process it it makes inspecting the sail a foot at a time really easy. My inventory was just at the Doyle Sails Seattle loft for a spa day a few weeks back so I didn’t notice any new issues, but I’m sure I would have seen them if there were.
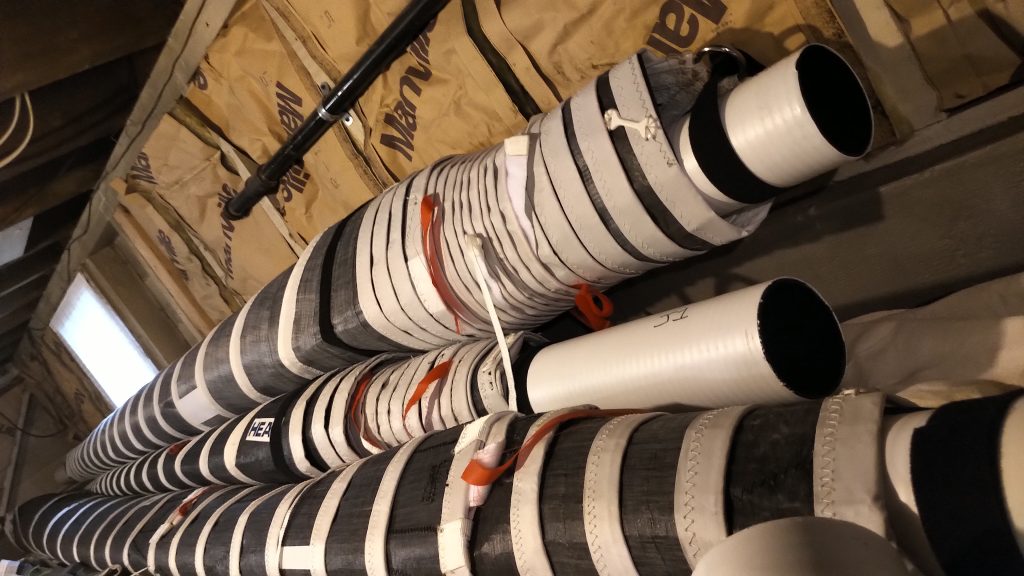
As you can see, I didn’t stress about making the rolls exceptionally tight. I have enough room that the few inches I’d gain from a really tight roll makes no difference. Plus, the looser roll made it much easier to ensure I wasn’t introducing creases to the sails.
Come next season, I’ll probably strap the rolls to the top of the Jeep and drive them down to the big lawn at Shilshole on a dry day (assuming the Duke’s is not under construction yet) to unroll and flake them into their bags. The racing main I’ll probably just hoist at the dock straight off the drainage pipe. If I need to reclaim bench space for a project. I plan to stick a foot-long 2×4 with large hole drilled into both ends of the drainage pipe and use a rope through the hole to tie each end to the rafters in the basement.
